How to Use Westfield Laser Design’s Laser-Cut Applique Kits
Ensuring Precision in Beautiful Designs
Appliqué is a beloved method of adding detail and embellishment to quilts, home décor, and even apparel. The term “appliqué” comes from the French word appliquer, meaning “to put on,” and it has been used for centuries in fabric arts. While traditional appliqué involves carefully cutting out intricate pieces by hand, which can be time-consuming and tedious, Westfield Laser Design has revolutionized this process by offering laser-cut appliqué kits. These kits save time and ensure precise cuts, making it easier than ever to create beautiful, detailed designs.
If you’re new to using laser-cut appliqué or just need a refresher, this guide will walk you through the process of working with one of our kits.
Step 1: Understanding Pre-Fused Appliqué
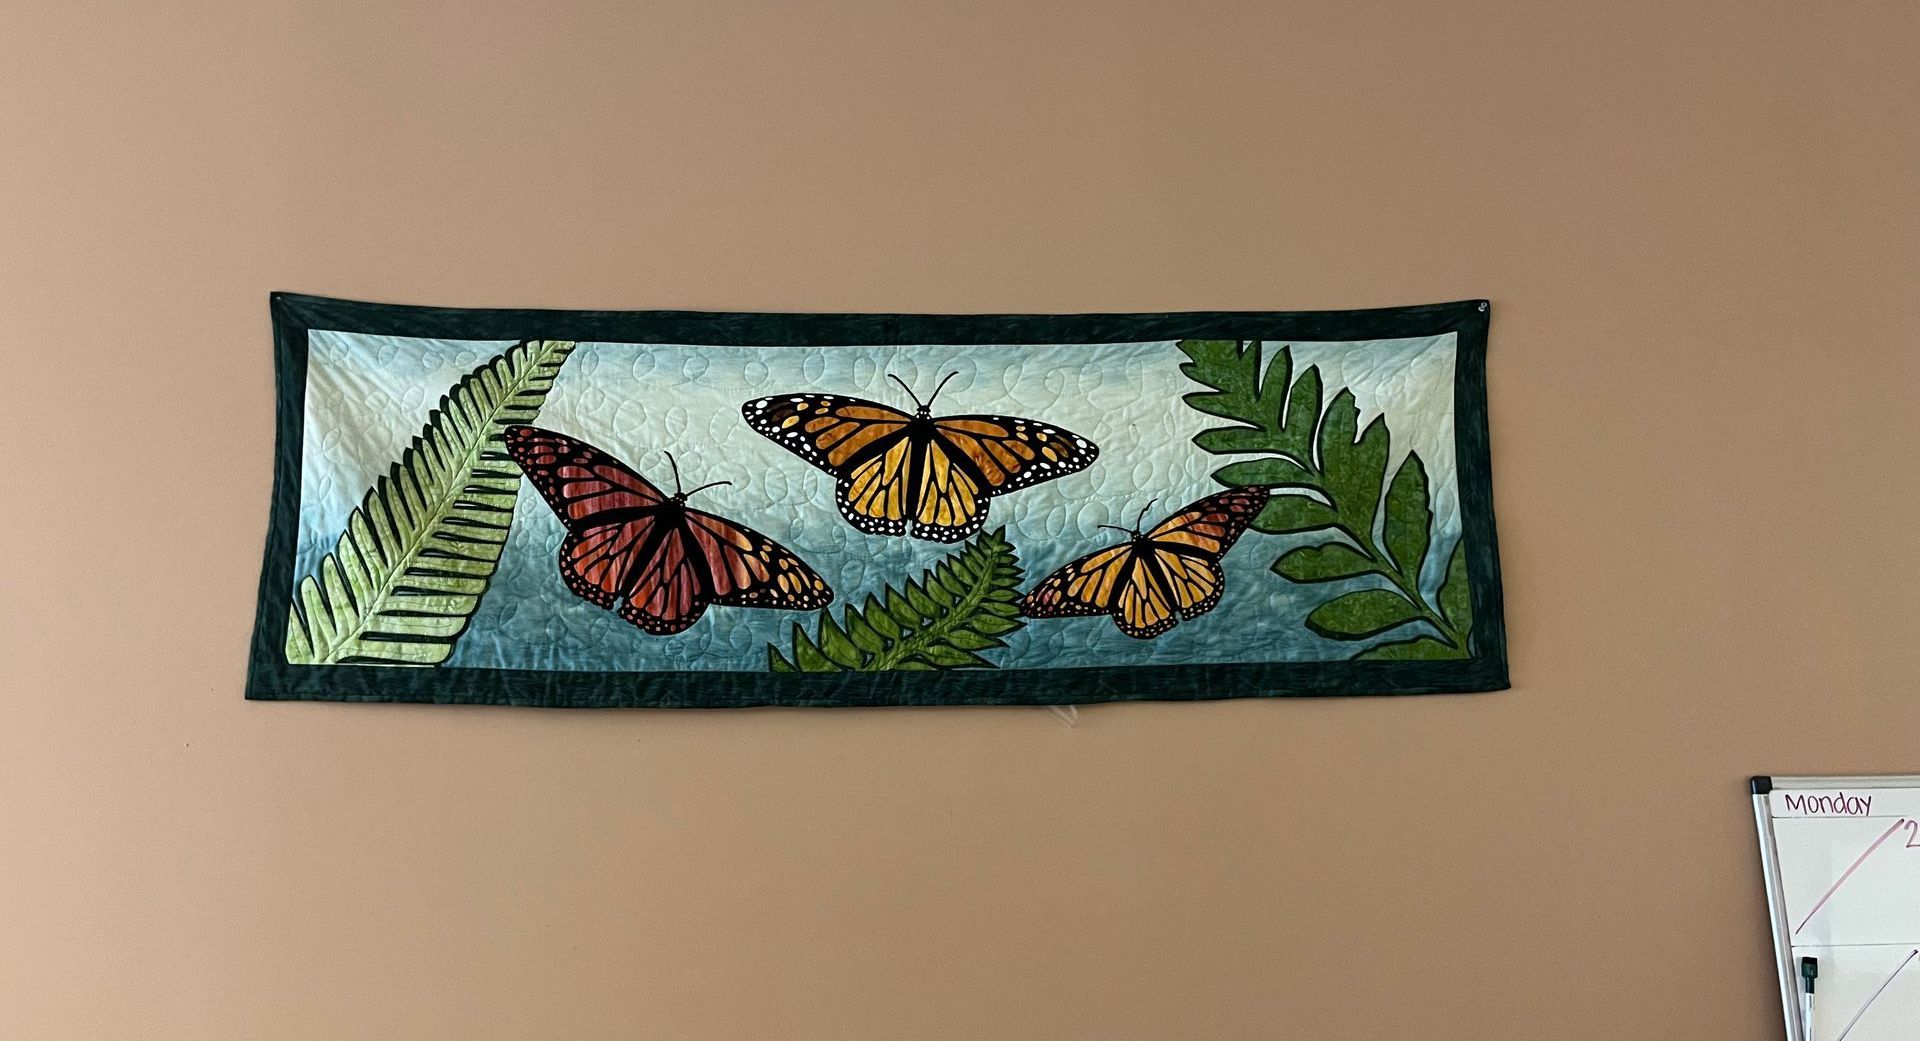
One of the best features of our laser-cut appliqué kits is that they come pre-fused. This means that each appliqué piece has a special SoftFuse Premium backing, which lightly adheres the piece to your fabric when you press it with an iron. This backing is not permanent, but it keeps your pieces securely in place while you work. SoftFuse Premium has been carefully selected because it offers excellent adhesion without making your fabric stiff, and it won’t gum up your sewing machine if you choose to sew the pieces down.
Step 2: Prepare Your Background
Before you begin applying your pieces, you’ll need to prepare your background. Most projects require a fabric, canvas, or even a wood surface to serve as the base for your appliqué. Make sure your background fabric is smooth and wrinkle-free. If you’re using one of our Quilt by Numbers (QBN) kits, this step is especially easy because the kit includes a freezer paper template. You can iron this template onto your background to ensure each piece is perfectly placed.
Step 3: Positioning the Appliqué Pieces
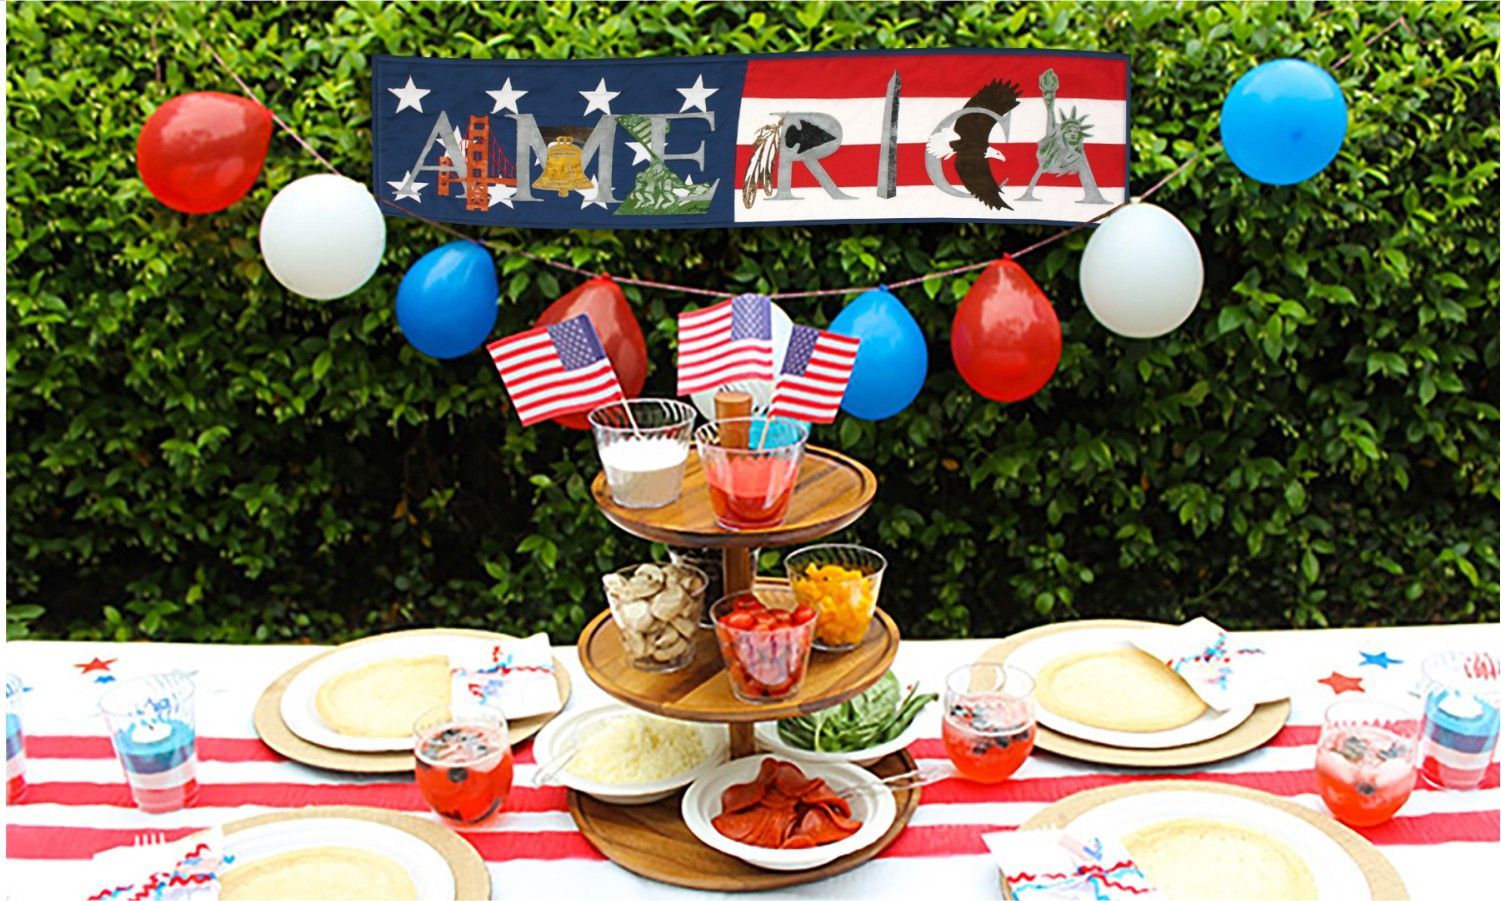
Once your background is ready, it’s time to position the appliqué pieces. Carefully snip the small connections that hold the pieces together for transport (these can be removed easily with scissors). If you’re using a Quilt by Numbers kit, place the appliqué pieces into their designated spots on the freezer paper template. If you’re working without a template, follow the placement guide included in the kit to ensure your design comes together perfectly.
The beauty of the pre-fused backing is that it allows for minor adjustments. If you make a mistake or change your mind about the placement, you can carefully peel the piece off and reposition it before pressing it back down with heat.
Step 4: Tack the Pieces in Place
Once you’re happy with the placement of your appliqué, use a standard iron to gently tack each piece down. Using a medium hot iron with no steam, press the applique in place using medium pressure for 3-7 seconds. This will activate the SoftFuse Premium backing and hold the pieces in place.
Remember, the fusible backing is not permanent. Its purpose is to hold everything in place while you assemble your project. You will still need to sew or use another form of adhesion for a more permanent hold.
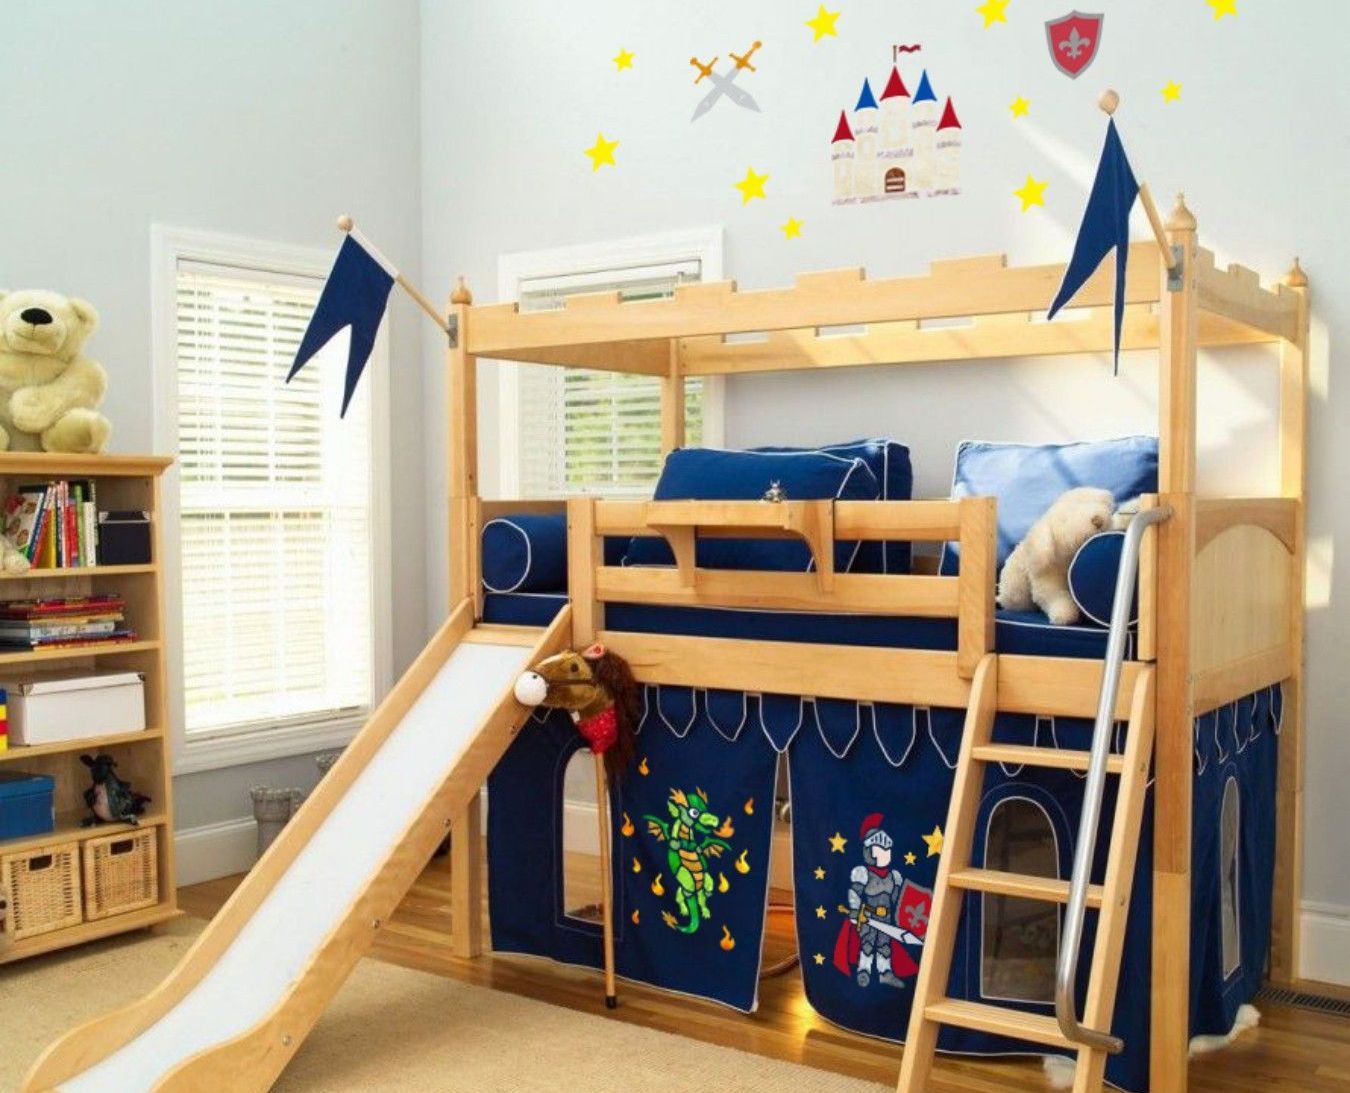
Step 5: Securing the Appliqué
There are several ways to secure your appliqué pieces, and you can choose the method that works best for your project. For fabric-based projects like quilts or wall hangings, sewing by hand or machine is a common option. The SoftFuse backing won’t affect your needles, making either method a breeze.
If you’re working with a non-fabric background, such as wood or canvas, you can use other methods like decoupage or clear paint to permanently adhere the pieces to the surface.
Step 6: Finishing Touches
Once your appliqué is secured, you can add any final touches to complete the project.
All of our kits include a step-by-step instruction guide and a placement guide. Our Quilt By Numbers kits also include a template to make sure everything turns out exactly as it should. You won’t need to purchase a separate pattern, and the instructions are clear and easy to follow.
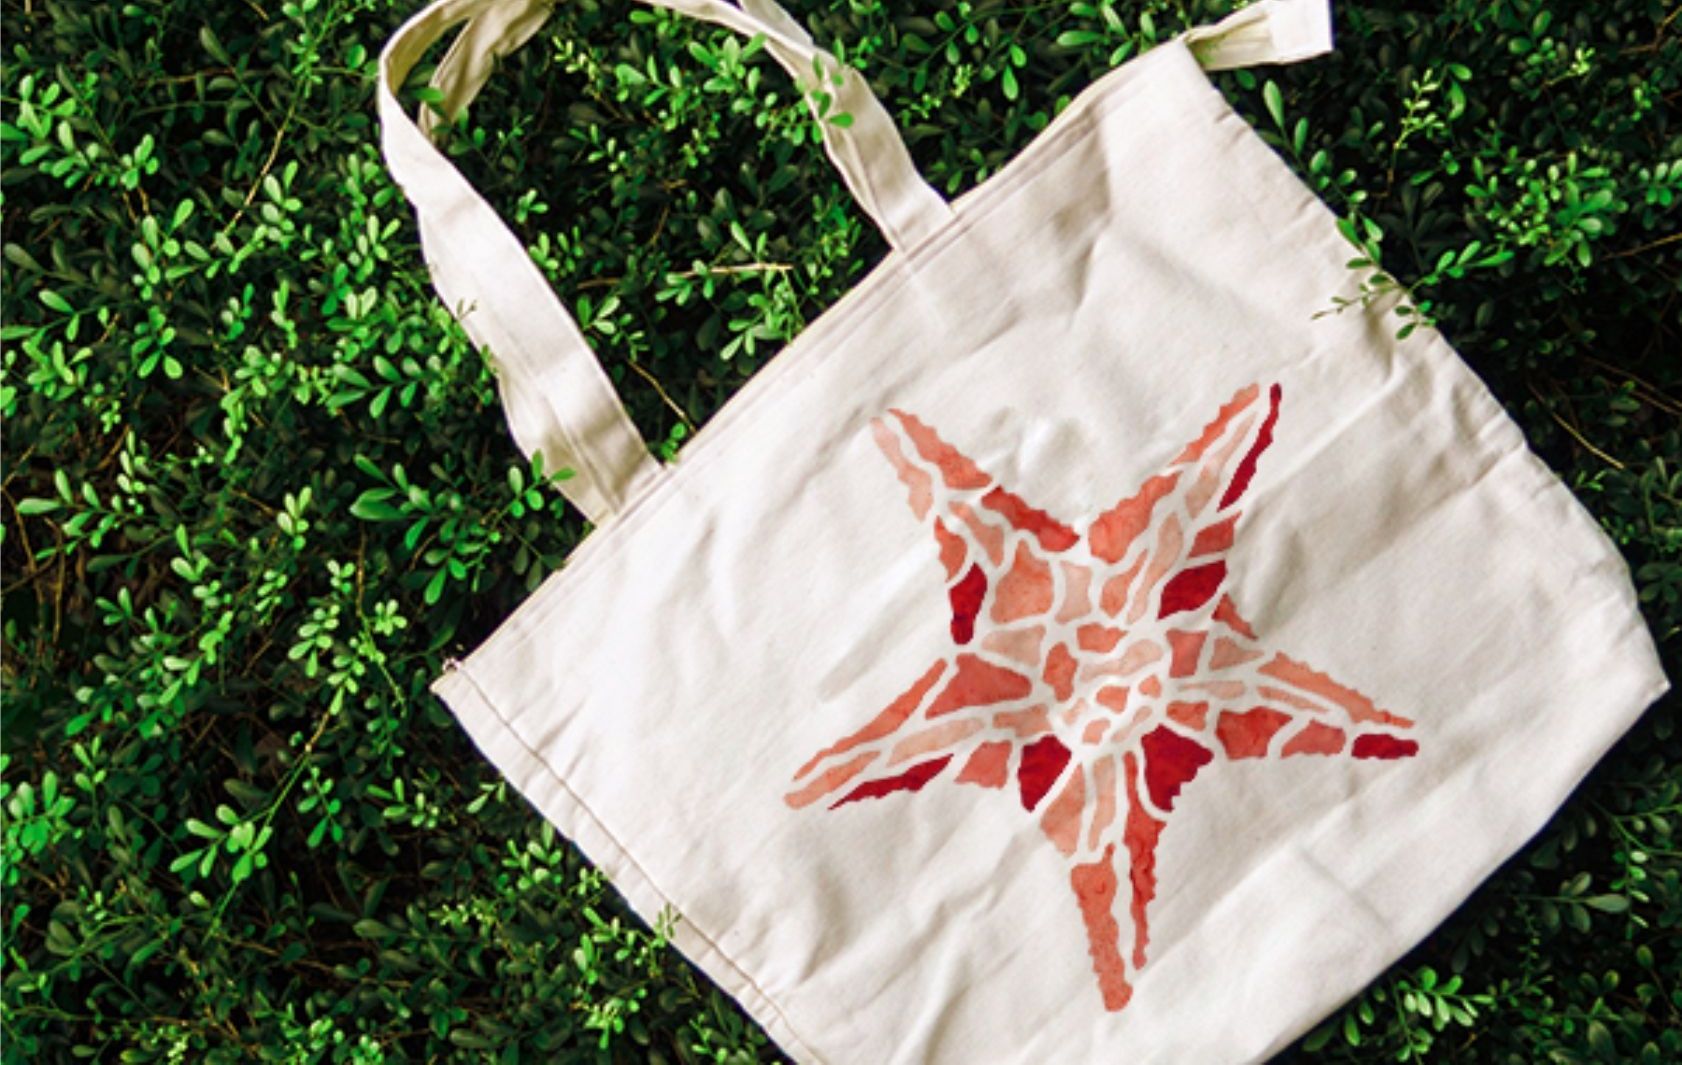
Why Laser-Cut Appliqué Is a Game Changer
Traditional appliqué often requires hours of intricate cutting, but with laser-cut appliqué, we remove that step entirely. Our precise laser technology ensures that each piece is perfectly cut, regardless of how detailed the design is. This means less time spent cutting and more time enjoying the creative process of assembling your quilt or craft project.
Additionally, the uniformity and precision of our laser-cut pieces make them easy to work with, even for beginners. You won’t have to worry about wobbly edges or mismatched pieces. Whether you’re creating a quilt, a wall hanging, or another piece of décor, you can count on professional-looking results.
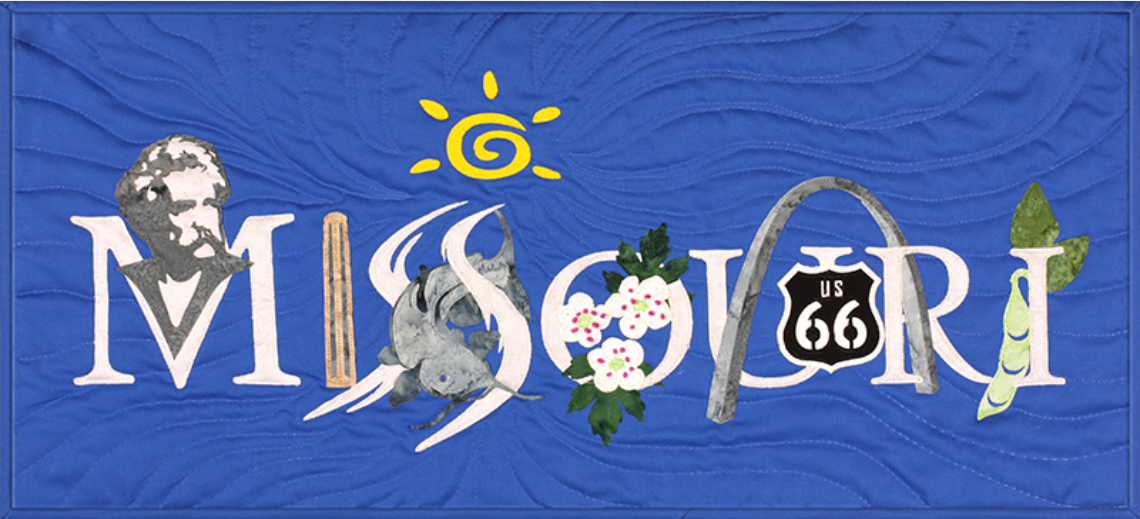
Explore Your Creative Potential with Westfield Laser Design
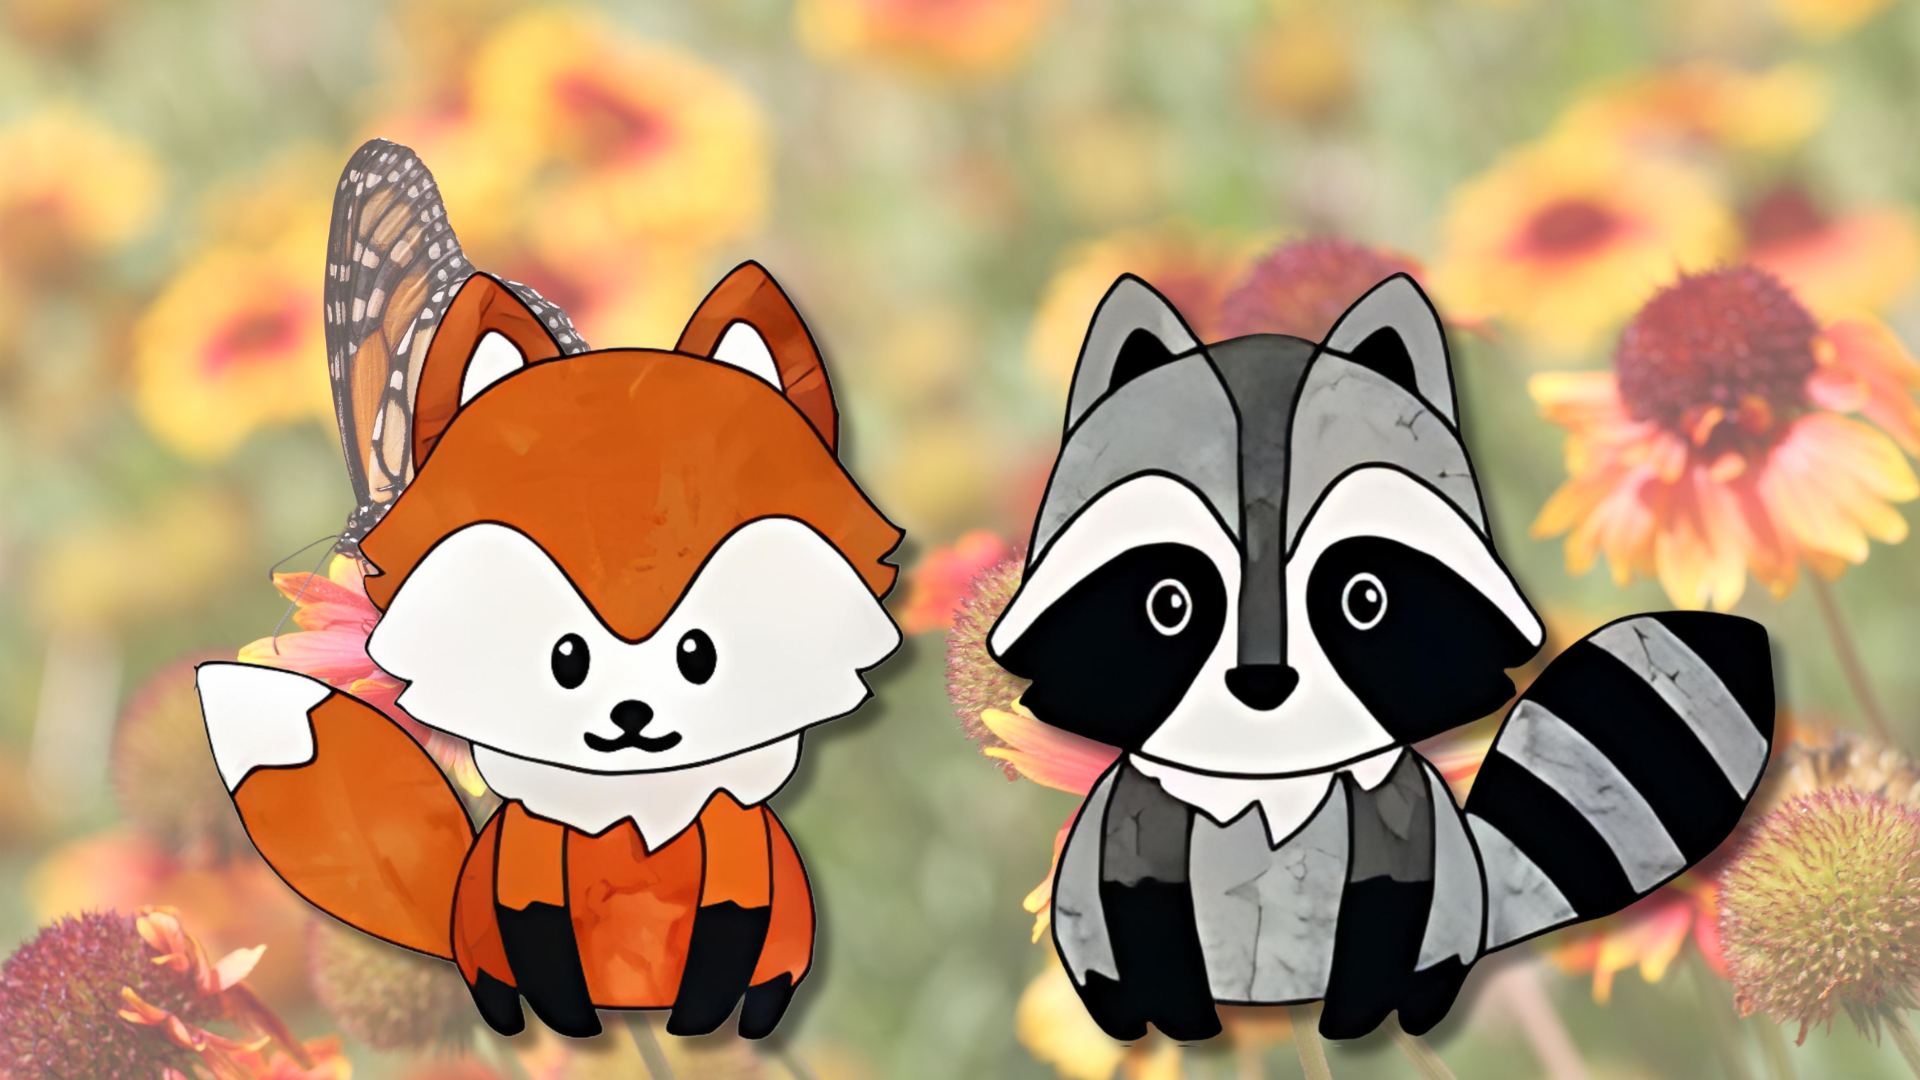
At Westfield Laser Design, we offer a wide range of appliqué kits, from nature-inspired designs like Forest Friends to seasonal patterns and geometric shapes. We also provide custom-designed kits, so if you’re a quilting shop or enthusiast looking for something unique, we can create a bespoke kit just for you.
With laser-cut appliqué, creating beautiful, intricate designs has never been easier. Whether you’re a seasoned quilter or a beginner, our kits make the process of assembling your next project enjoyable, efficient, and rewarding.
Ready to start your next quilting project? Explore our range of laser-cut appliqué kits today and see how easy it is to create stunning designs with precision-cut pieces.
